Make a Banner with Ian Capstick: A Workshop from the Nook
This session was part of a skill share on Zak Foster's Quilty Noon, where I shared techniques and will opened the floor and to ask folks to share their tips and tricks for creating bold, readable text to make your message shine.
We dug into various lettering techniques for banner making, from hand-painted letters to appliqué, stencilling, and more!
The session included a guided mini quilted-banner project where you can practice basic techniques for creating a small fabric banner using our to go quilting methods.
SUPPLY LIST
Supplies to Gather Before watching the video Session:
Backing fabric in non-stretch and ideally one solid color (approximately 12” x 6" or 24” x 12” - choose based on your comfort holding/displaying, or get started on a bigger banner!)
Contrasting fabric scraps for letters (different color from your backing - the more contrast, the more readable!)
Scissors suitable for cutting fabric
Scissors suitable for cutting paper and cardboard
Glue stick or white glue (for temporarily positioning letters before sewing)
Pencil, pen, or fabric marker for tracing
Cardboard, paper, or old cereal boxes for making letter templates
Ruler or straight edge
Optional Supplies
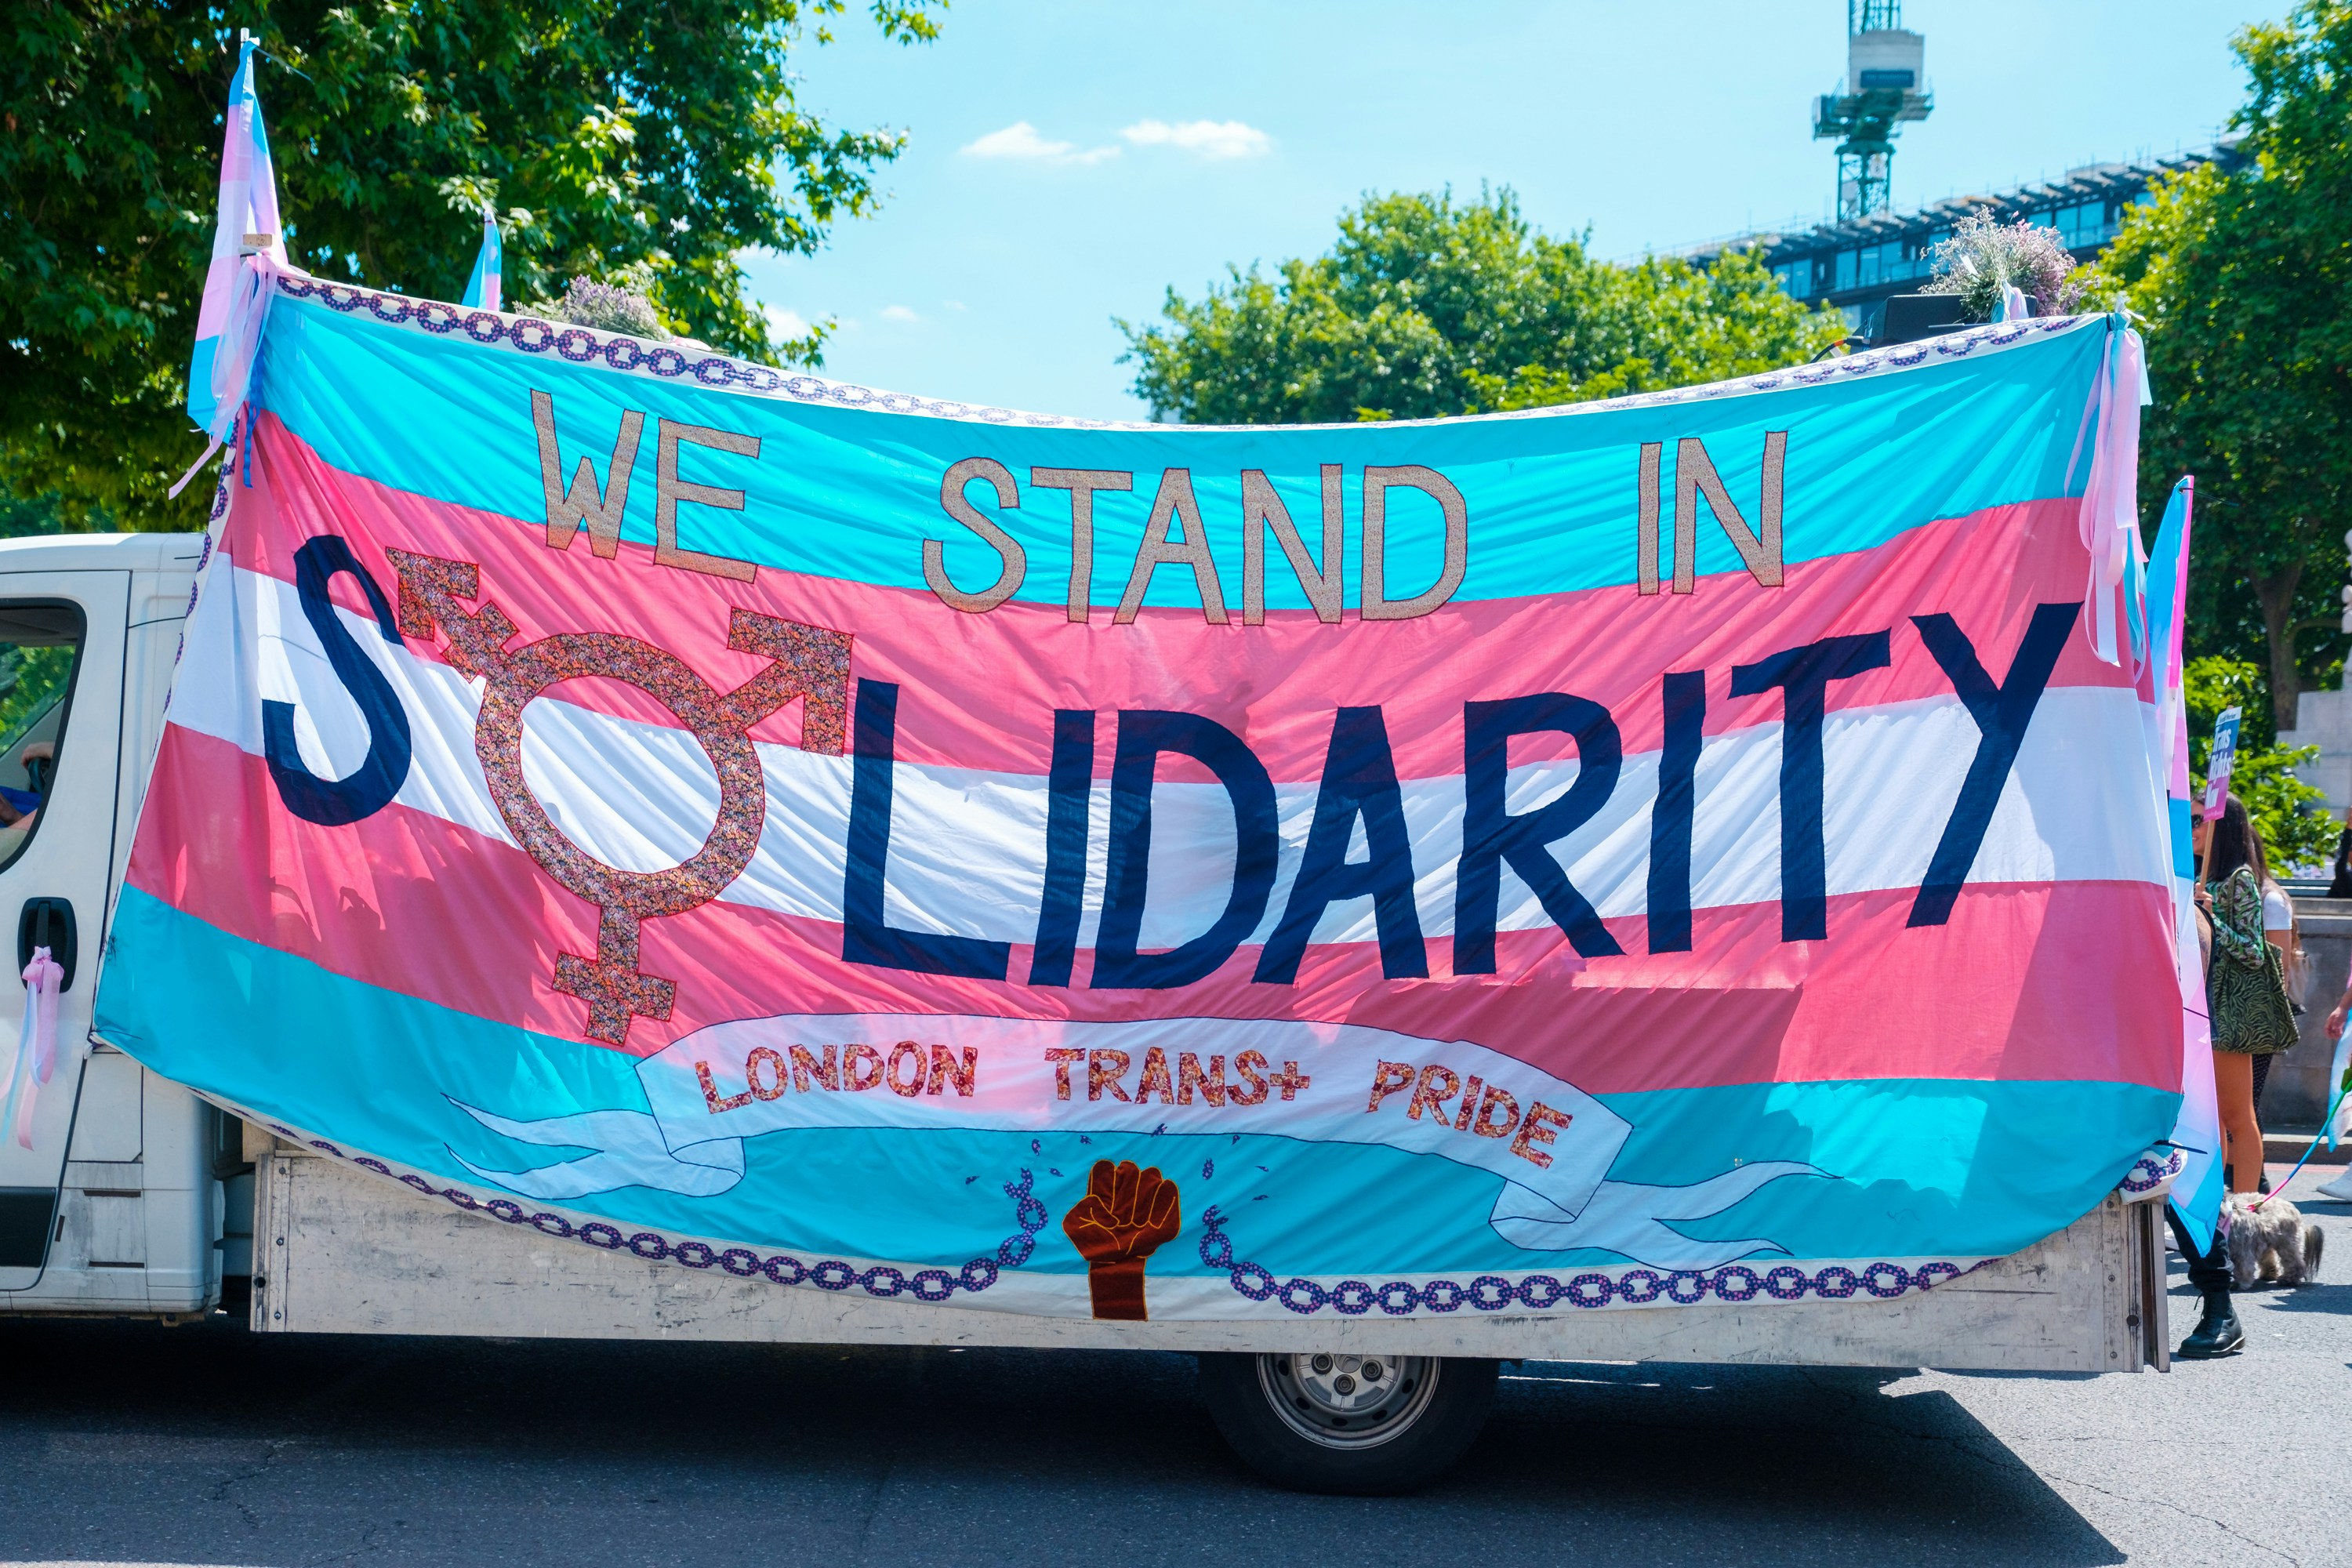
Download and print a set of letter pages from this folder: Banner Templates; there are two banners “We the People” and “No Kings” in two sizes; the letters print on regular letter US 8.5” x 11”
Freezer paper: this quilting go-to makes letters really easy to applique, highly recommended but not needed
Additional fabric scraps, buttons, ribbons, trim, embroidery floss, glue in various colors and patterns for decorative elements
Projector (for tracing giant letters directly)
Don't stress if you're missing some supplies – you will work with what you have and get creative with substitutions. Part of the magic is seeing how everyone interprets the project with their own materials and style!
Working Ahead? This is a completely optional step!
Preparing Your Banner Letters
Don’t want to use one of the pre-prepared banners?
Before we meet, you may want to plan out your banner text and prepare your own letter templates.
Here are several approaches depending on your tools and comfort level, we will go over each of these in detail at the beginning of the session as well!
Digital Typesetting (Free Options):
Canva (Free version): Create custom size designs and download as PDFs to print
Google Docs or Word: Type your text, increase font size to the size you need (usually 100-500pts), then several letters per page
Google Slides or PowerPoint: Create one letter per slide in large format, easy to print individually
Tips for Printing: Set your letters to fill the page, print on regular paper, and use these as templates to trace onto cardboard or cut out directly as patterns. Bold, simple fonts work best - think Arial Black, Impact, or similar heavy fonts.
Alternative Methods:
Freehand Lettering: Sketch your letters directly onto paper or cardboard - embrace the handmade aesthetic! Block letters are easiest to start with.
Projector Method: If you have access to a projector, type your text on screen and project directly onto your fabric to trace
Grid Method: Draw a grid on paper to help keep letters consistent in size and spacing
Remember, perfectly uniform letters aren't necessary - sometimes we typeset in a digital format to ensure all the letters will fit, and then make our
Choose the method that feels most comfortable and accessible to you.